Renovating a House: The Ultimate Guide
Considering renovating a house? Don’t start until you have read our complete guide, covering everything from finding and buying a project to putting the final flourishes to the decorating scheme
Renovating a house can be both exciting and daunting — not to mention the potential for making a profit that it offers. From discovering original features hidden under years worth of dust or the chance to put your own stamp on something — or perhaps the best route to getting a bigger house in a better area than you would otherwise be able to afford.
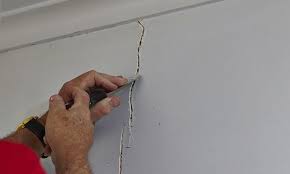
The success of renovating a house relies on being prepared for what lies ahead and, to a certain degree, an expectation that there will be some surprises in store.
Renovating a house can bring about a set of issues that will need to be resolved before your dream home can emerge — and these issues tend to involve hidden costs. Being aware of these and having a step-by-step plan of action should mean the project remains on schedule and budget.
A schedule of works is essential to anyone renovating a house. It basically outlines every single job that needs to be done from start to finish of a project, in the right order. Ideally you also want to include who is doing what and how much it will cost on the list.

Home renovation guide
How to avoid common mistakes
Whether you’re intending to renovate your home to make it more comfortable or increase its value, careful planning is required. As renovations, no matter how big or small, require attention to detail, here are a few tips to get you off to a good start.
Set your renovation goals
Consider what you want to achieve with your renovations. If you’re renovating due to your family growing in size then you may be thinking about adding a bedroom or perhaps increasing living space. Renovations can increase the value of your property too. If this is the goal of your reno you’ll need to carefully research which areas to focus on as some add more value than others.
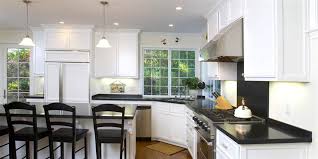
Get lots of inspiration
Make sure you have a clear idea of what you want before you start getting quotes and choosing materials. If you know you want to redo your kitchen or bathroom, but aren’t sure what style you want, you can always get great ideas from home design magazines or use Pinterest.
Make a detailed plan
Creating a detailed plan is essential to the success of your renovation project. While some costs will be dependent on which contractor you choose, there are some things you’ll need to decide on beforehand, including your budget and preferred materials and finishes. Saving or splurging on tiles, taps and bathroom inclusions can make the difference between an economical or over-the-top bathroom renovation.
Compare quotes
Get quotes from a few different contractors before making a decision to renovate anything in your home. This stage is usually a reality check and gives you a chance to stop and think through your options. Compare quotes and make sure you’re getting a good deal. Check the contractor’s reputation and ask plenty of questions to ensure that everything you require is included in the quote and there are no hidden costs you might incur.
Project Planning; Home Structure
Before beginning a home renovation project, there are basic preliminary steps which must be taken. Before even formulating a renovation design plan, you must be knowledgeable about and understand important structural features of the home.
The preceding chapter provided an overview of house structure basics. It is vital to clearly understand the structure of your home before beginning any renovation project that will alter the structure in any way. Therefore, a review of that information as well as other aspects of house structure is important.
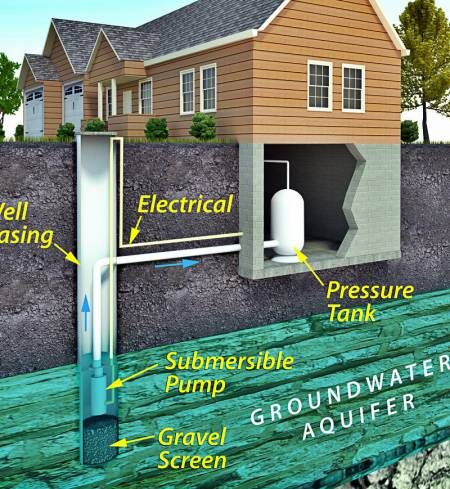
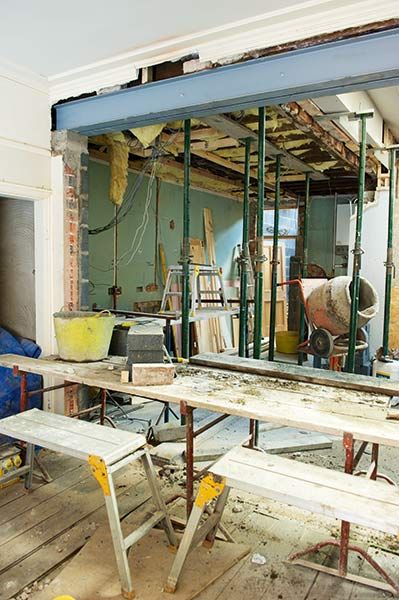
Since many renovation plans call for moving or removing walls and making changes to the building services such as plumbing, electrical, and HVAC, it is important you know details about each. A load-bearing wall, for instance, cannot simply be removed. By mapping out the structure of your home and service systems within it, you will have a better grasp about the feasibility of a project, and how much work will be required to complete it.
REVIEW OF THE STRUCTURE OF YOUR HOME
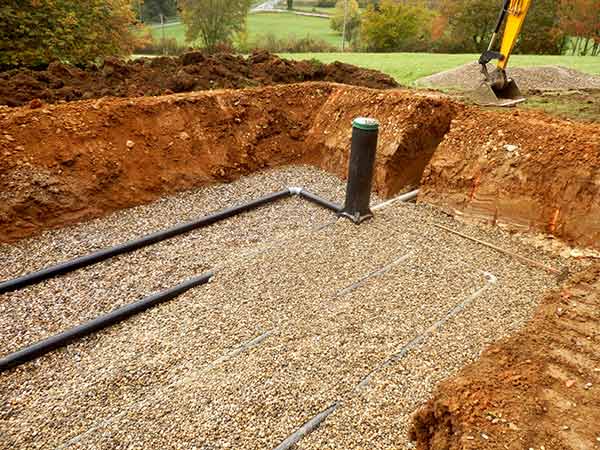
The framing of your home is the foundation, floors, walls, and roof which all tie together to form a solid structure. These are the actual boards which make up the floor joists, wall studs, and roof trusses or rafters.
There are two types of framing used in home construction as noted in chapter 1 – platform framing and balloon framing:
Platform framing – the style of framing used in most modern construction projects. For each story of the structure, wall studs extend from a bottom plate at the floor (or foundation) to the top plate which is either attached to floor joists of the next story, or roof trusses. The floor structures for each story are platforms that extend to the perimeter of the house. Because each story has its own support structure, this style framing is much less complicated when making alterations.
Balloon framing – commonly found in older homes; consisting of wall studs that extend from the foundation to the roof structure – even multiple story structures. The first story rests on the foundation; second and third story levels are supported by 1X4 ribbons set in notches in the stud walls.
A Beginner’s Guide To Managing A Remodel
Browsing photos and ideas can be a fun part of creating your dream room. But making your designs a reality also takes smart planning and organization. Project management is an essential part of remodeling, and there’s nothing like the feeling of implementing a plan to create something new and beautiful. These tips can help you achieve your desired results.
Become a list writer. Making lists is key when it comes to project management. It’s the only way to properly organize your thoughts and prevent any details from being forgotten.
The most important list is your scope of work, or specifications, document. This is basically a detailed list of everything to be done, from start to finish. If you’re dealing with one main builder who’s organizing all the work, then you’ll need to make sure he or she gets a copy, so the goals are clear and all the information is provided.
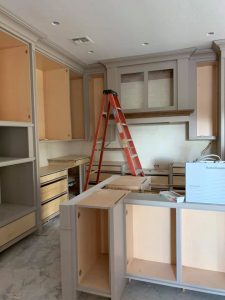
Make sure you’re all on the same page. If you’re coordinating separate subcontractors (cabinetmaker, plumber, electrician), then it would be worth indicating who’s responsible for each task. Give a complete copy of the specifications to all of them, so they’re all aware of what everyone is doing. Discuss the specifications with your subcontractors since they may be able to provide help and advice. A schedule is also useful, so you can keep track of progress and everyone knows who’s going to be on-site on which day.
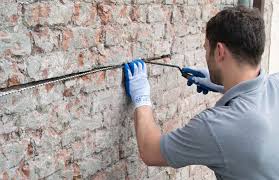
With prior knowledge that a partition wall will feature some lighting, for instance, the builders will know to leave the stud frame open for the electrician to run the wires through before it’s boarded up and plastered over. Trying to feed wires through after the fact is much harder, takes longer and risks unnecessary damage.

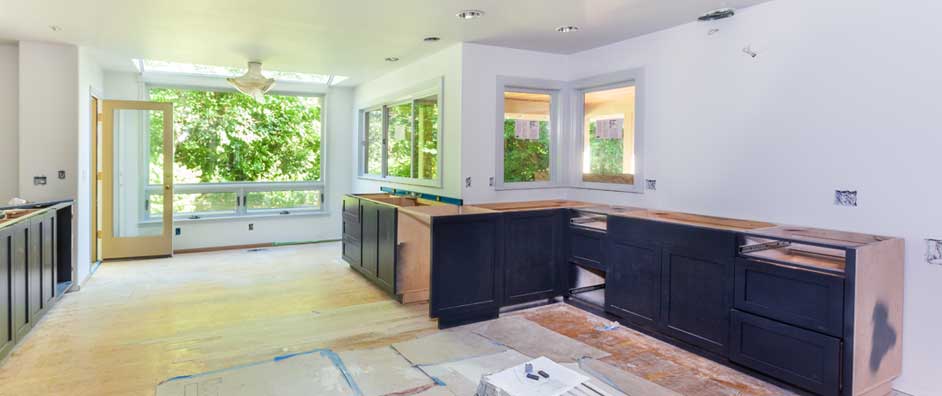
DIY Home Renovation Guide
If you have decided to tackle a DIY home renovation, half the challenge is just getting started. With solid planning and preparation your home renovation can become a financial and personal triumph.
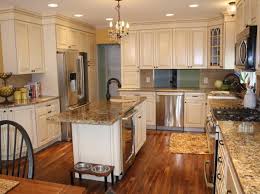
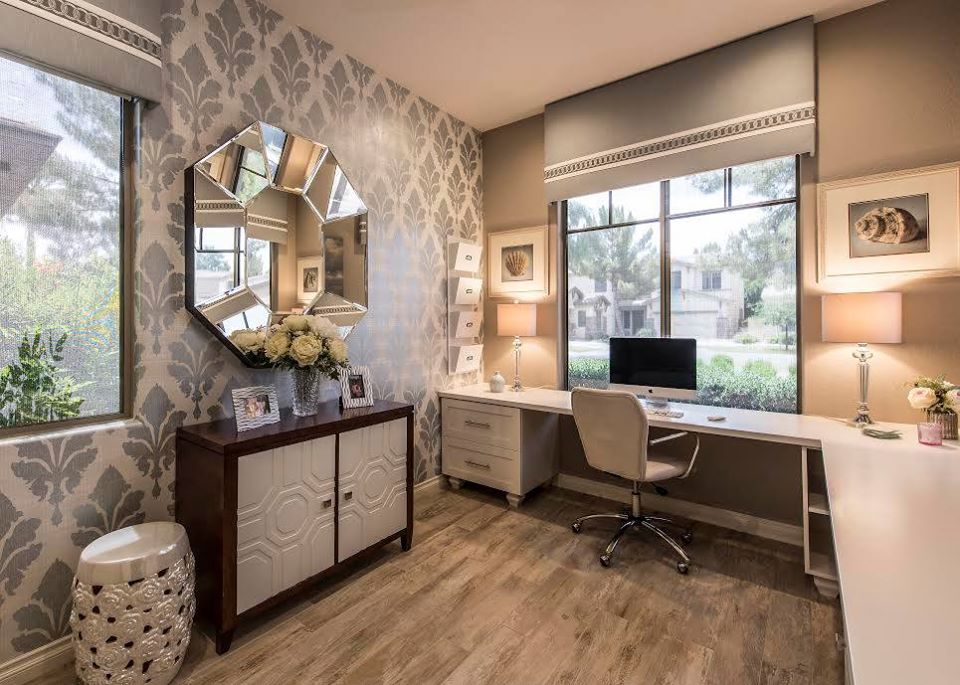
Get inspired – this is your home, after all! Start window shopping in furniture, homeware and design stores, and think about finishes and looks that really grab your attention. Peruse your local bookstore, pore over interior design glossies or pick up copies of local and international interior magazines
Revamping your castle can significantly improve your lifestyle and save money in the long run. It may mean you can stay put and avoid the costly upheaval of moving house. It can also build your home’s equity, particularly when it comes to kitchen and bathroom renovations.
DIY Home Renovation Guide will take you through the process of planning, budgeting and checking local building legislation and requirements
We also have some hands-on DIY renovation tips and advice to keep you safe during your home’s transformation:
Create your home renovation budget
DIY renovation project management
Hands-on home renovation tips
Renovation safety plan and survival guide
DIY home renovation checklist